

How To: Destination Prints
How to create the perfect destination print.The places and the spaces in between |
 |
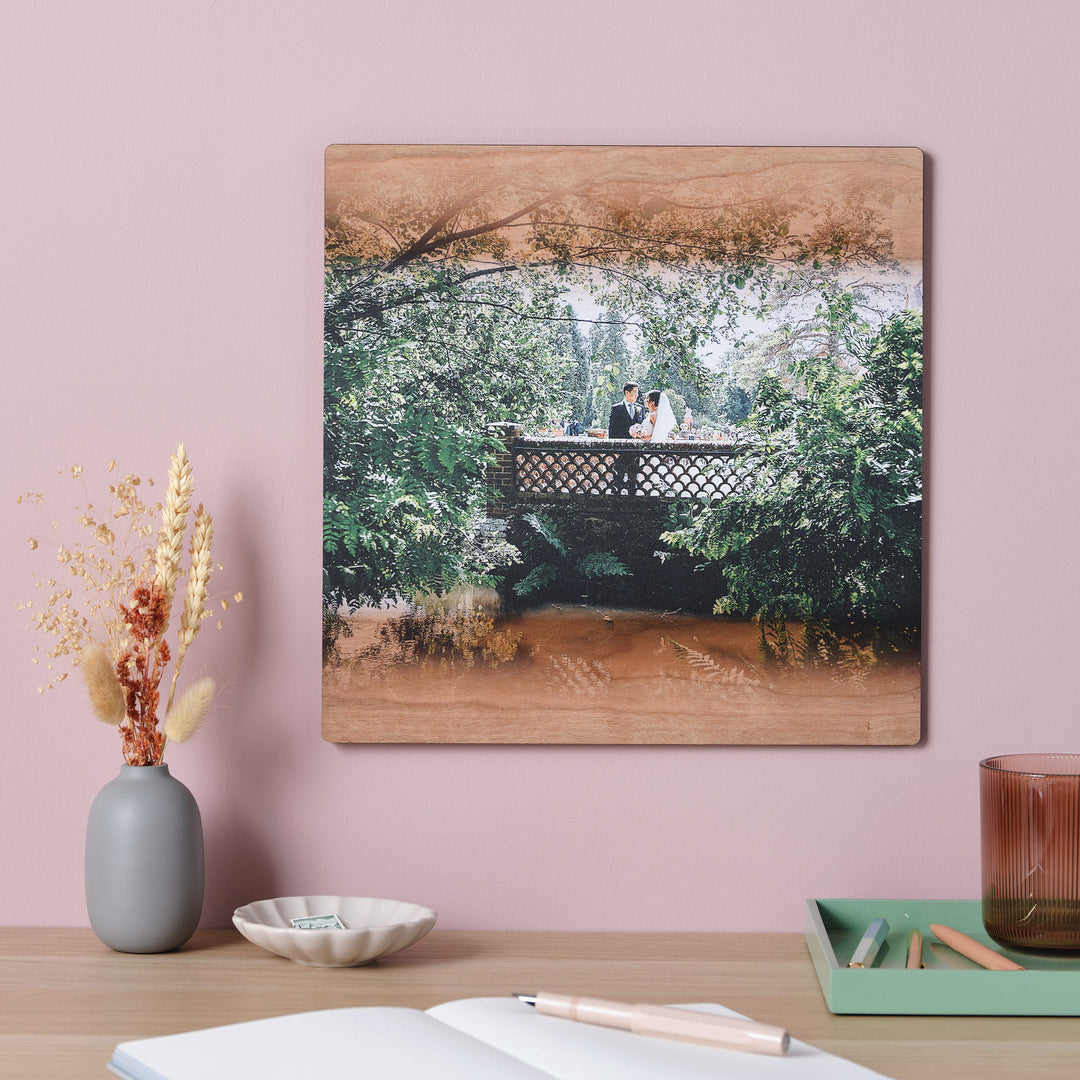
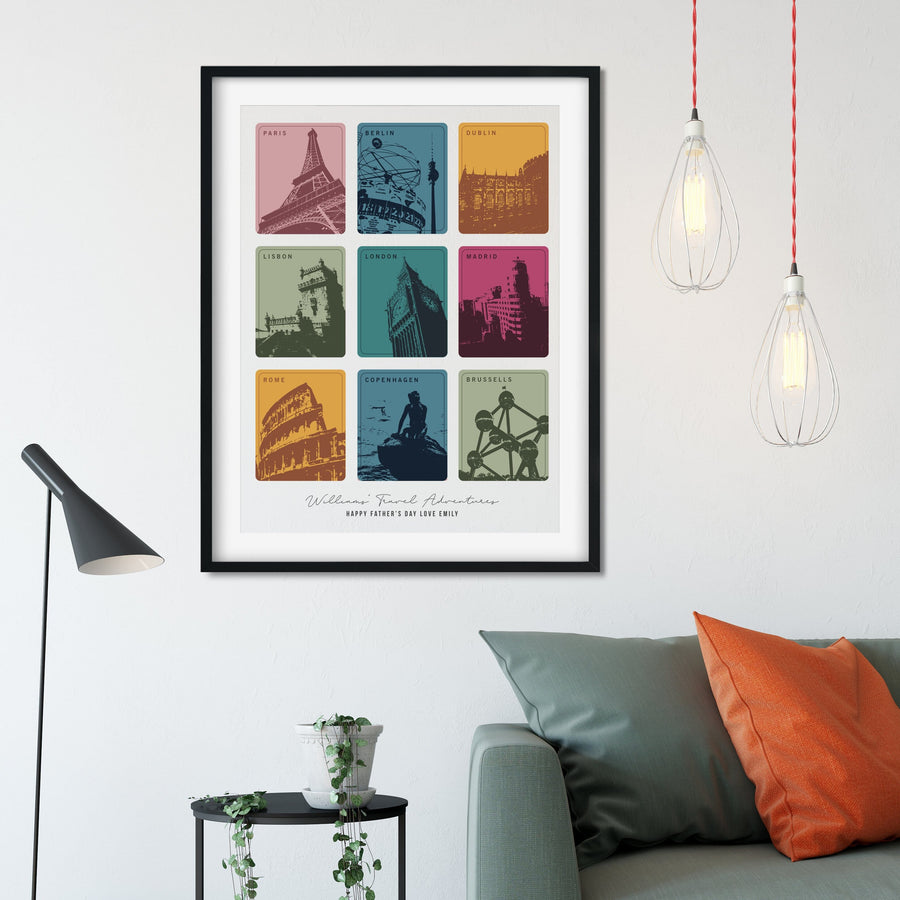
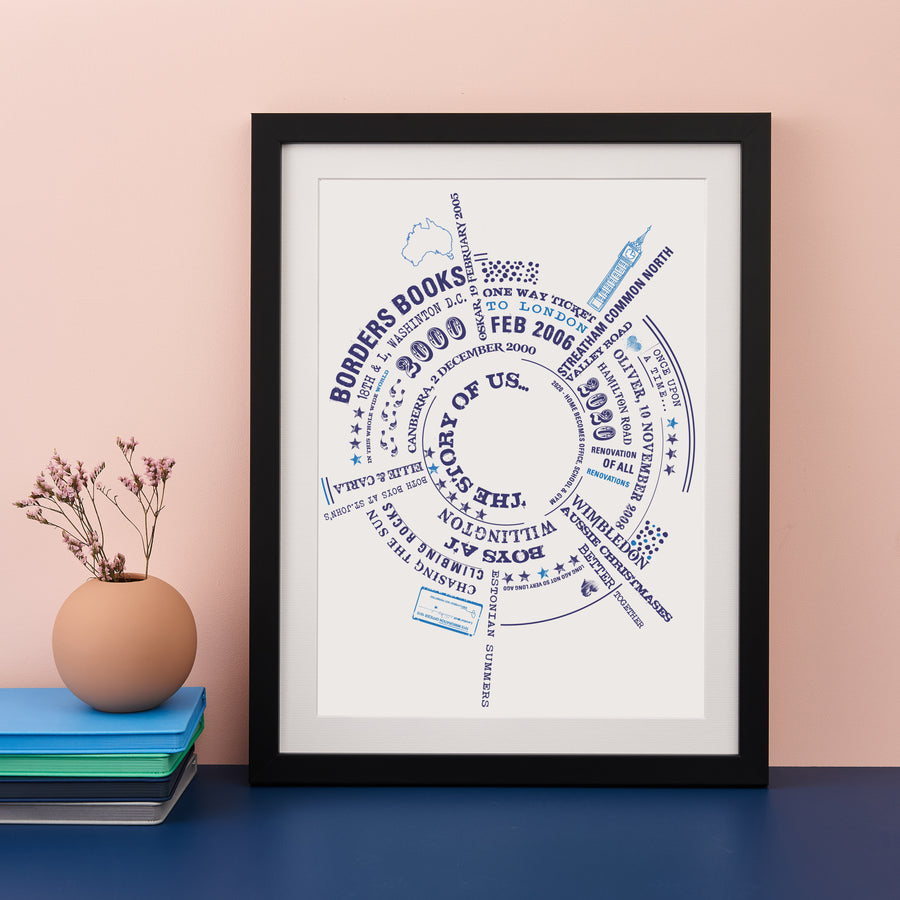
We’ve been designing these personalised destination prints since 2010, and know exactly how to make your print look beautiful. Here are some of our top tips on how to choose the places for your artwork and how we’ll space it out to make it perfect for you.
Step one
List out your places. Take a day to let your mind remember all the places you've been, and what they meant to you. Here's a few suggestions on what to include.
- names and birth dates of children
- friendship groups
- funny sayings unique to you
- quotes / lines from favourite songs
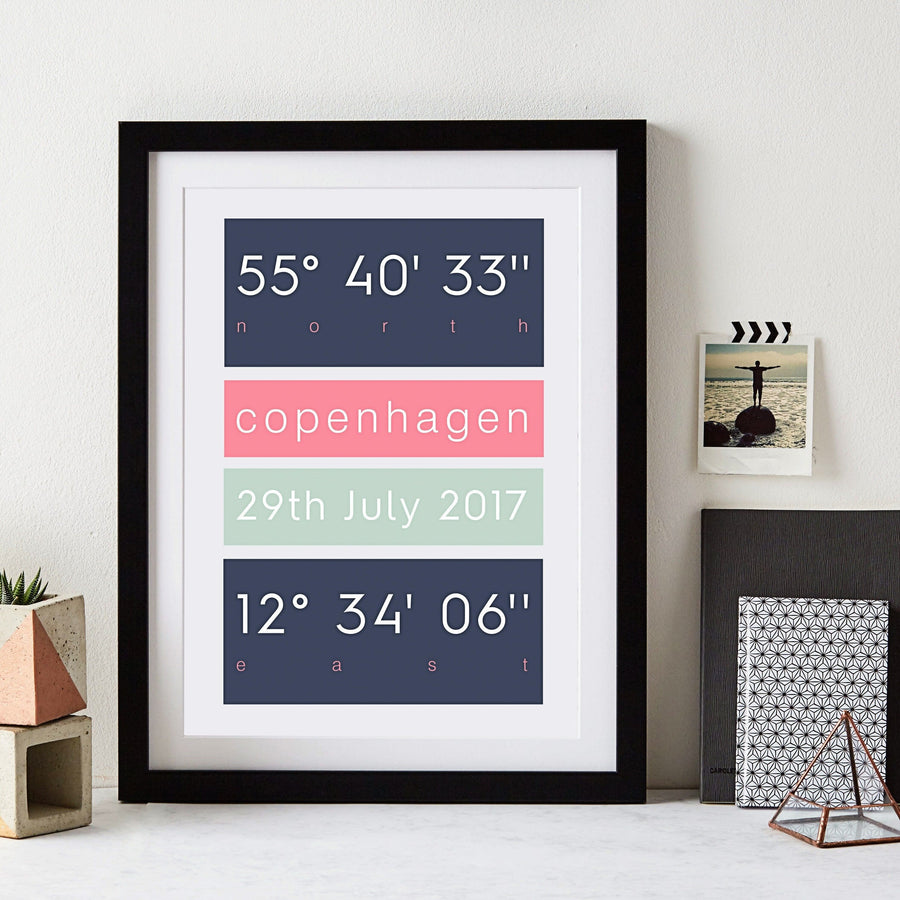
- international coordinates
- meaningful dates
- sporting venues or clubs
- festivals & gigs
- basically, anything that is important and meaningful to you
- birth town or hospital
- road names where you’ve lived
- schools & universities
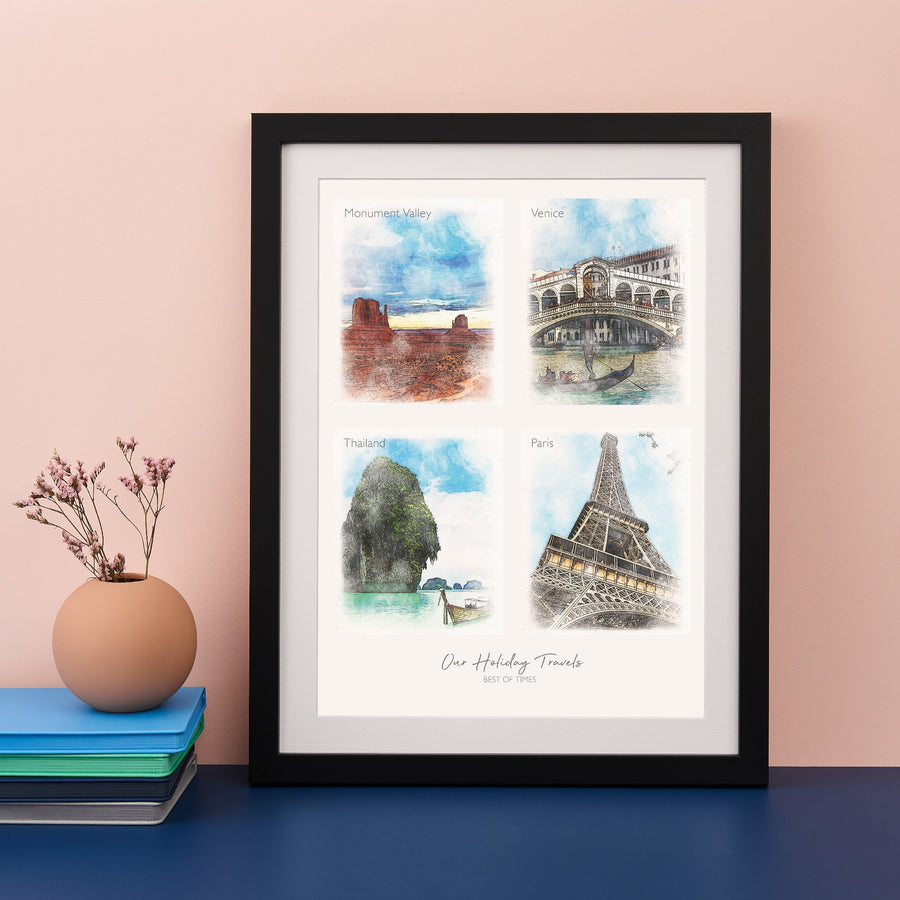
- favourite holidays
- where you met, got engaged, or wedding/honeymoon location
- places you’ve worked
- important restaurants
- achievements, like mountains climbed or races completed.
 |
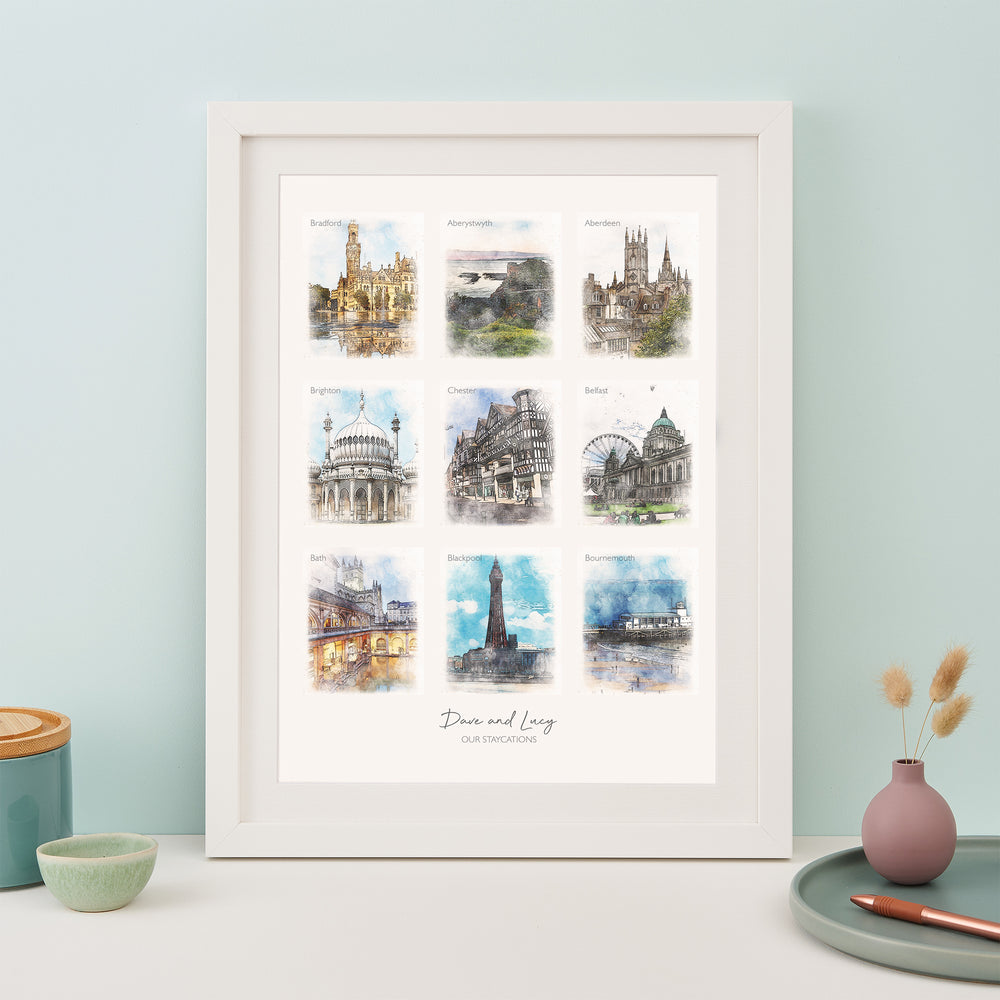
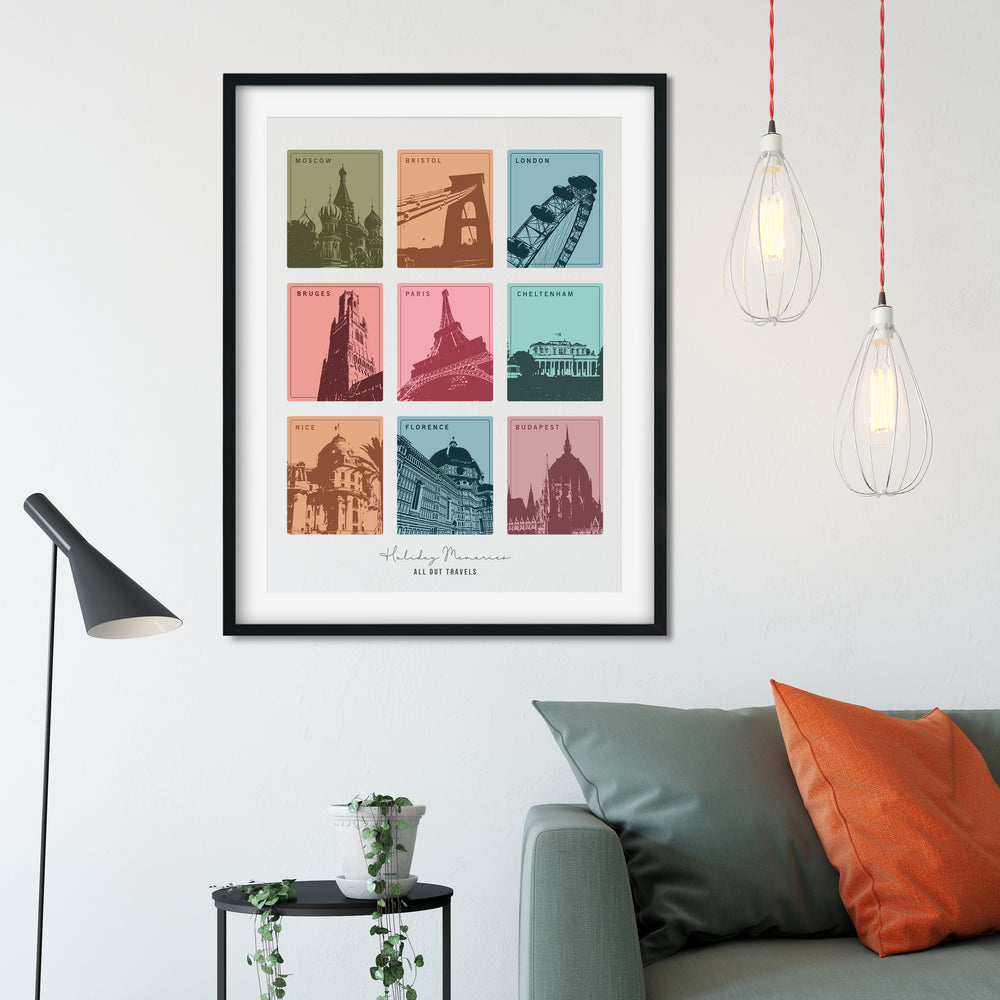
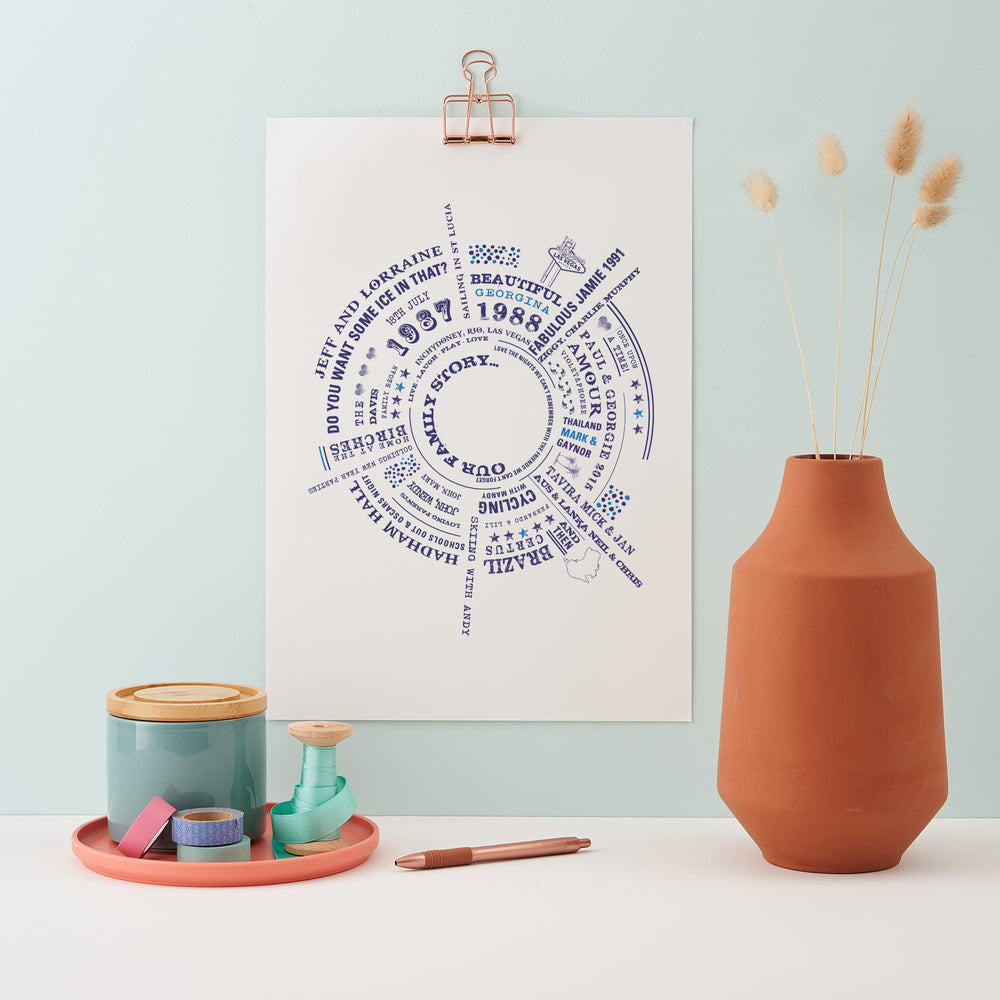
Step twoA lot of text, or not much text? The more characters you have per line, the busier it will look. This is down to personal tast and the aesthetic you'd like to achieve. Using single words/places per line will result in a cleaner look and feel. Adding details, such as a hotel name to a town you visited will allow for more variation in the text. |

Step three
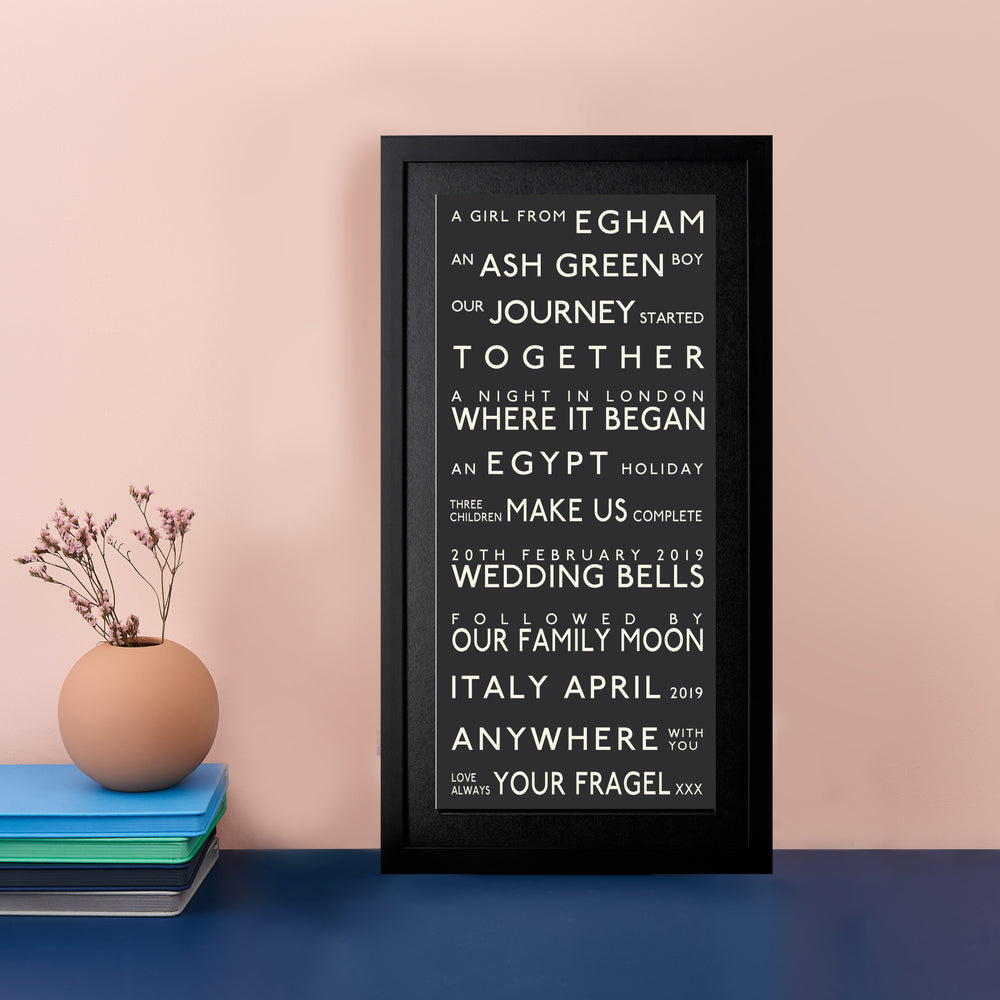
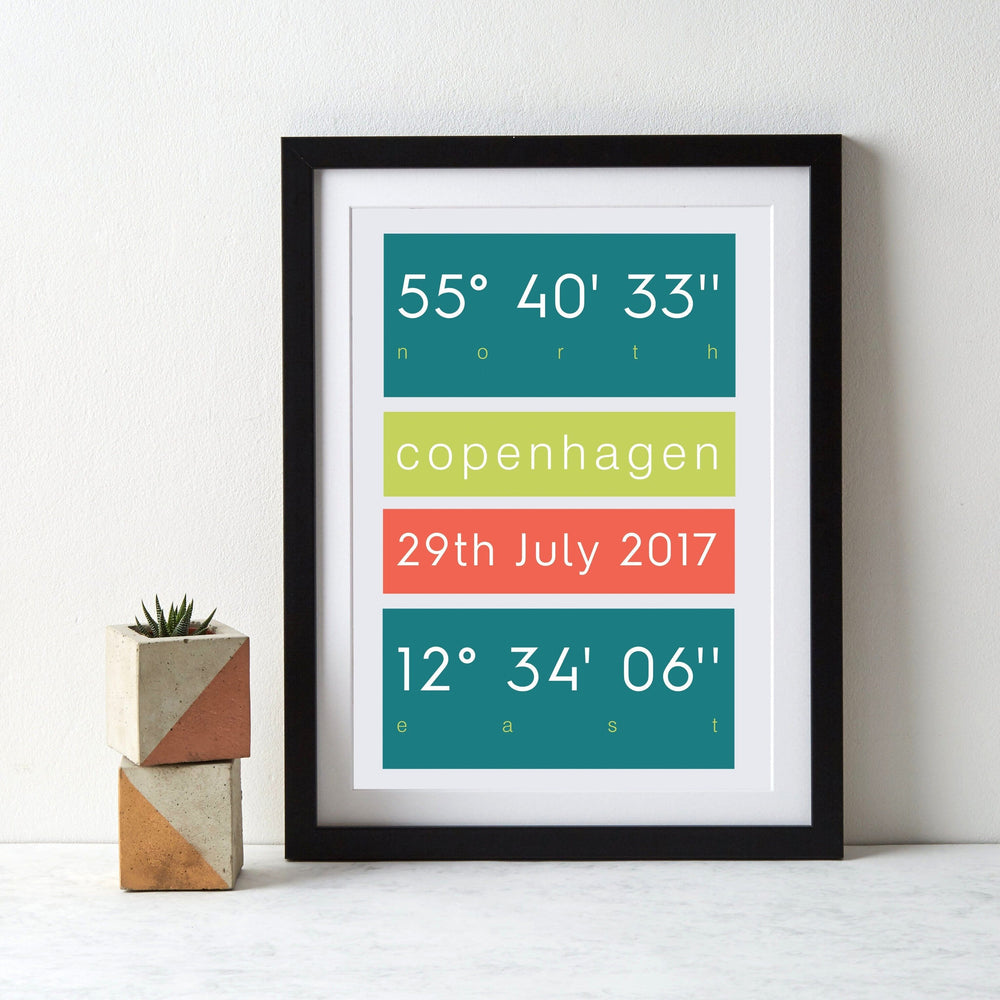
Choose a background colour. Orange is the new black (or ocean, or stiffkey, or rose, or sage, or smoke...)

Step four
Bask in the glory of being the best gift giver ever. Extra brownie points if you had it framed.

Share this
Other posts


Leave a comment